This is the website where I'll be documenting the rebuilding of our pond after the Oak tree destroyed it's 26 yr old vinyl liner.
I'll also be, hopefully, showing you the many creatures that make use of it!!
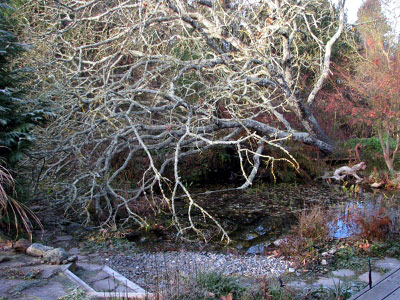
Click on the image above on the left to see the images of when the tree came down into our pond. Then click on the image to the right to go to the Facebook album that documents the rebuilding of our pond. Click on each image in that album to read the description of what is happening/being done.
For those of you not on Facebook, I'll try to add an image or two separately.
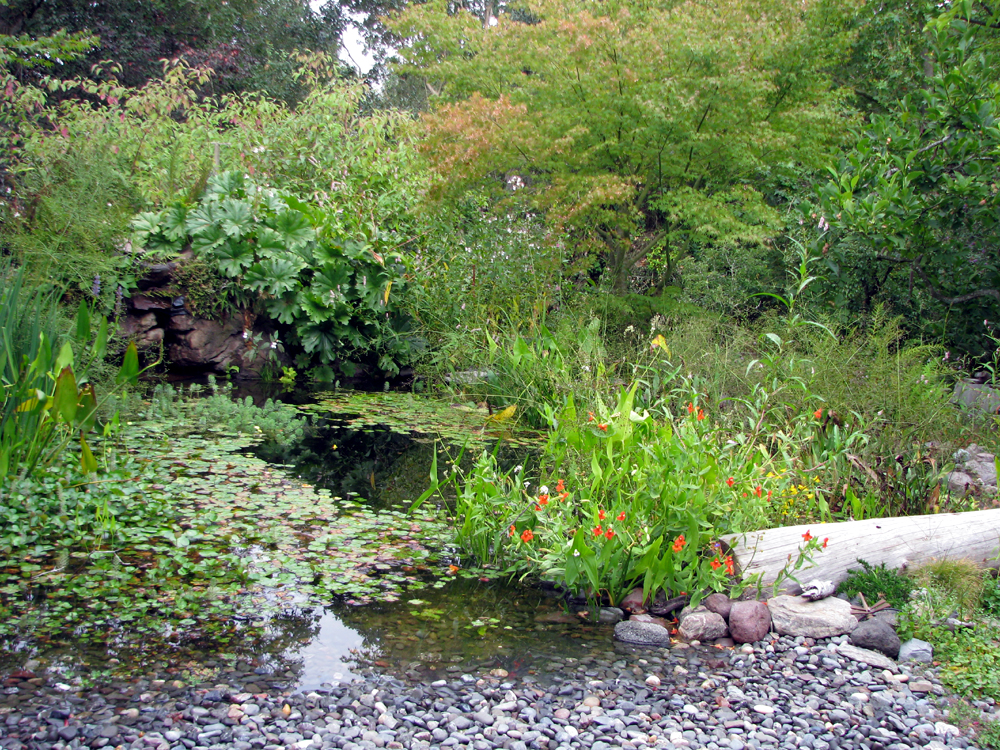
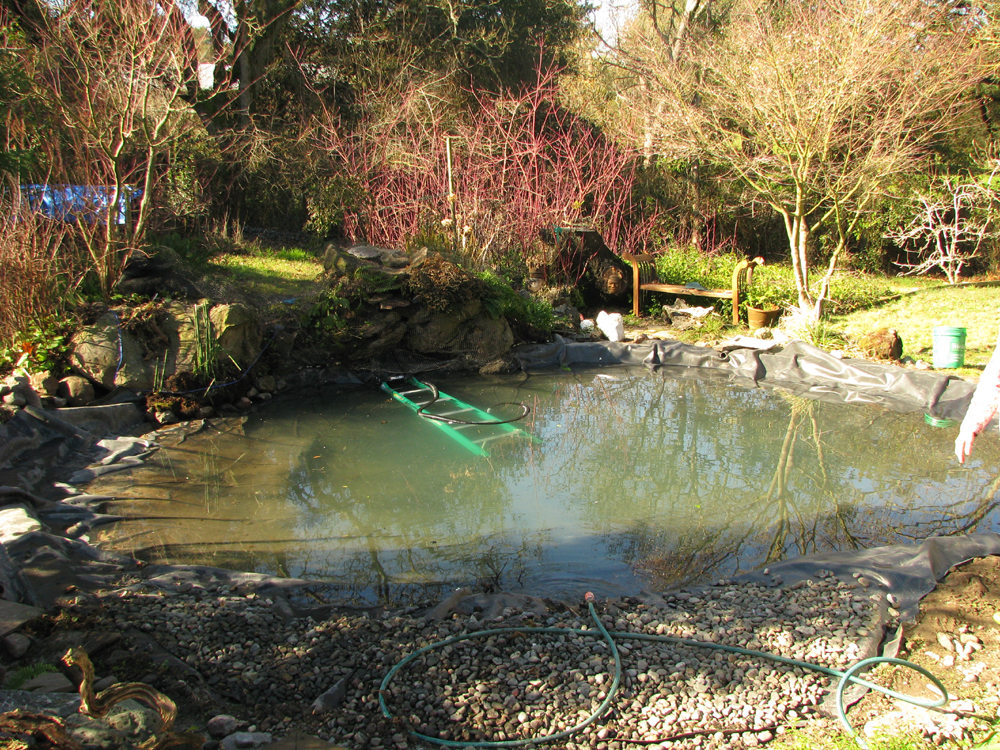
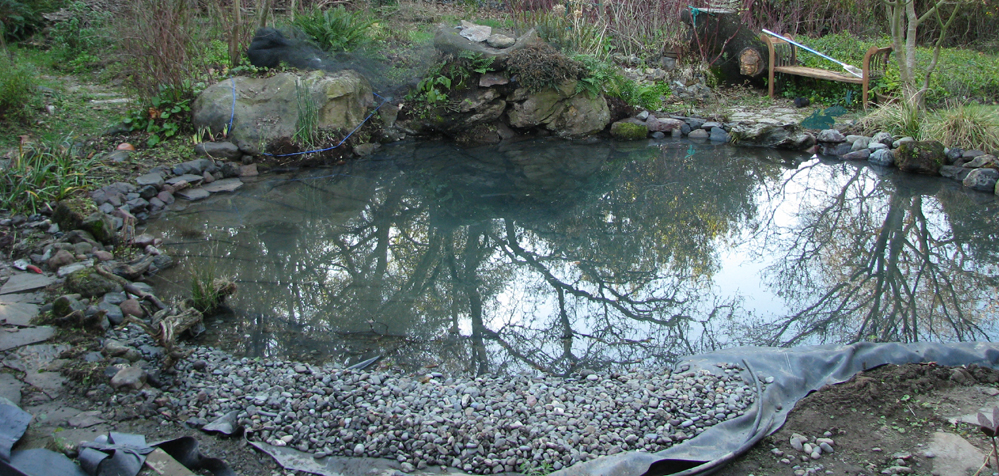
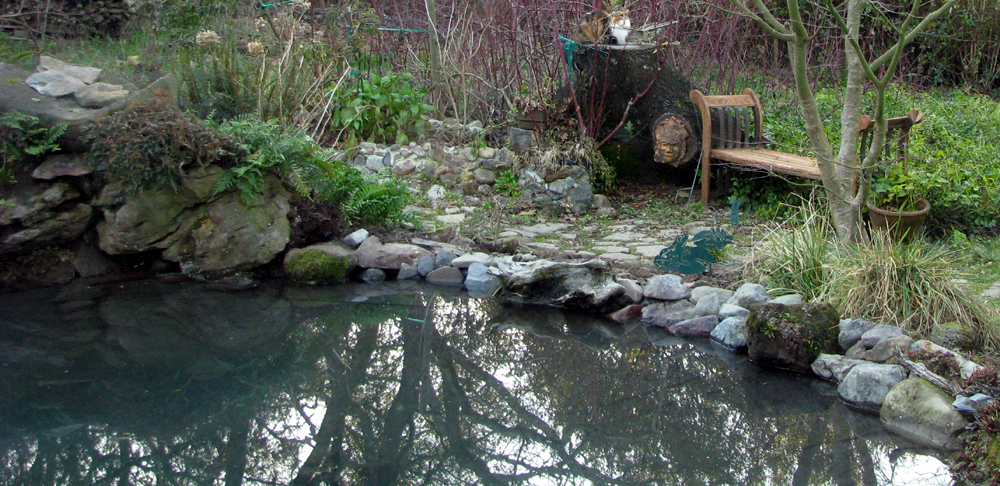
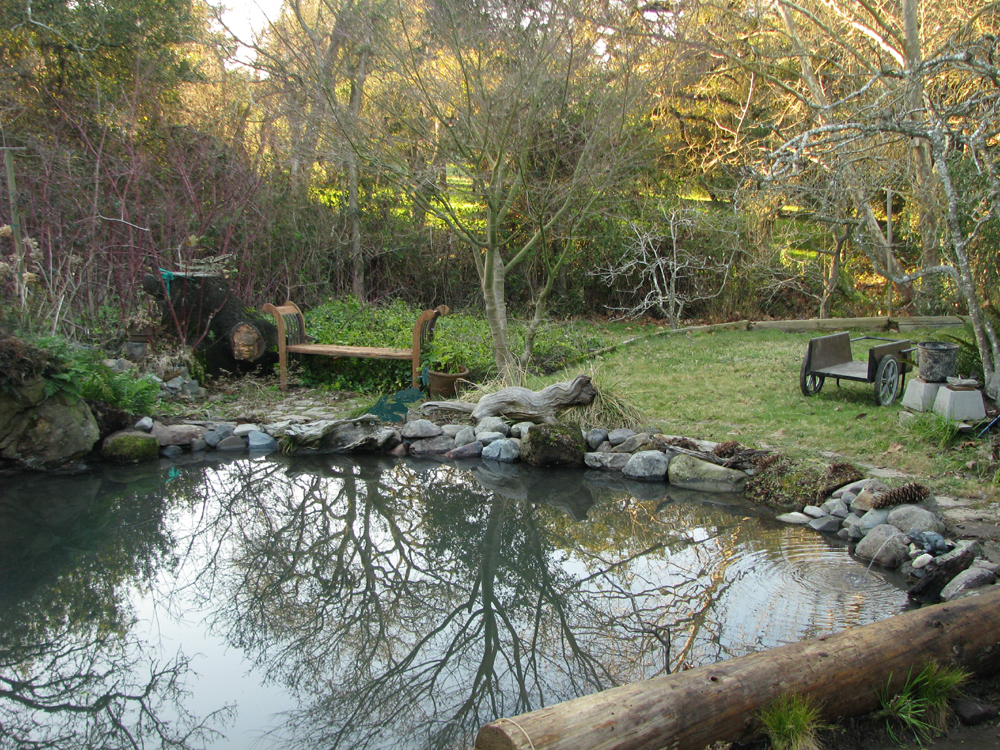
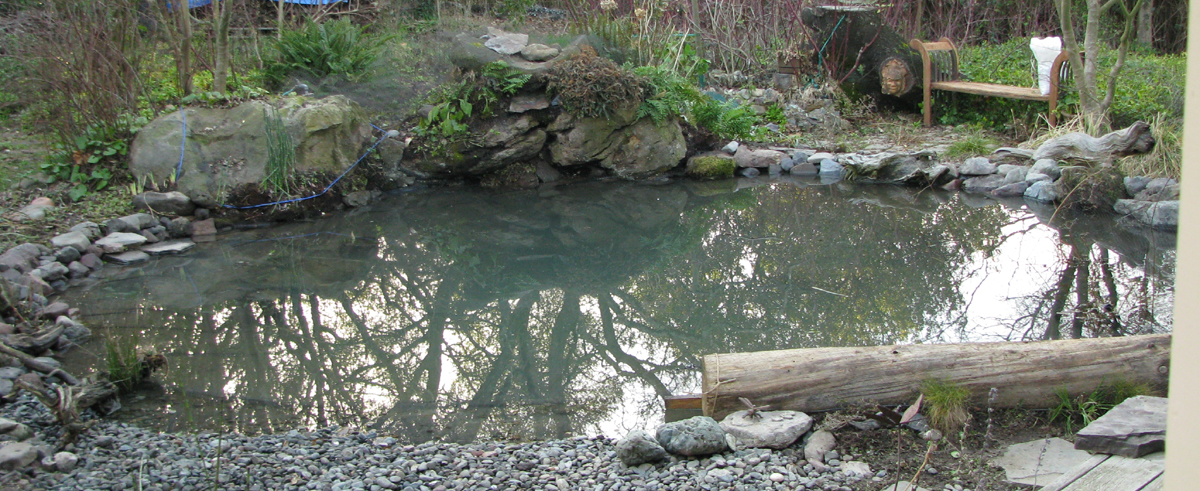
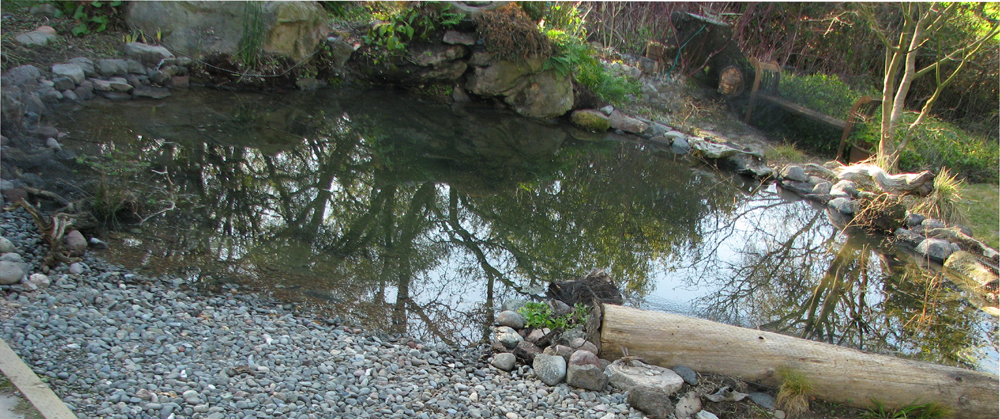
And so as not to scare you, here is an image of the pond in July - unbelievable recovery!
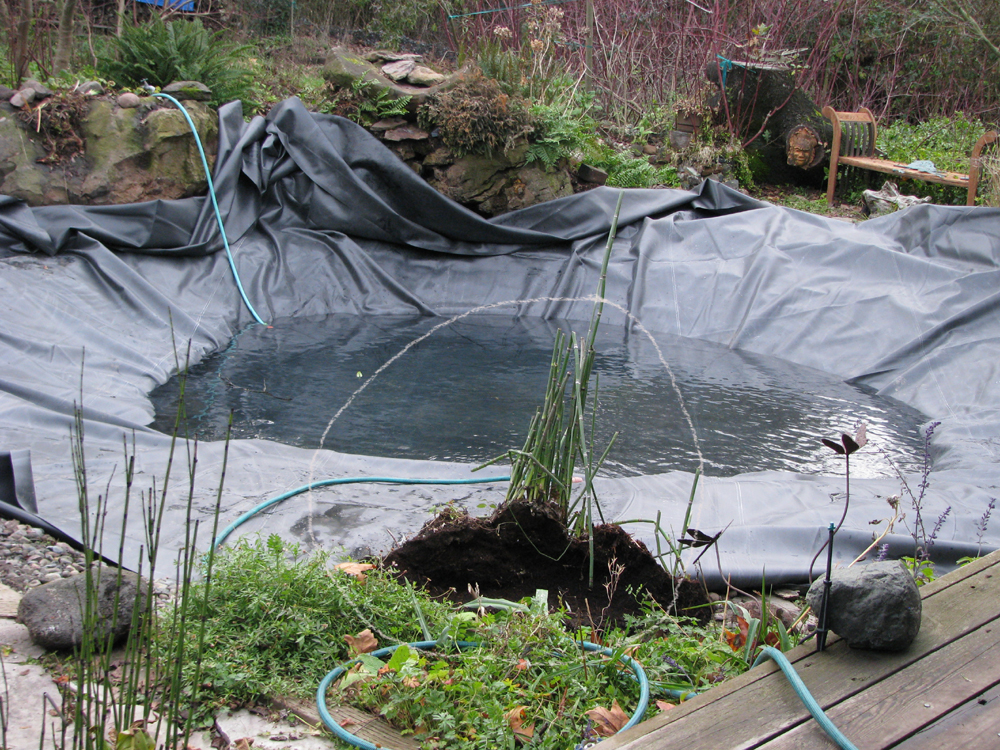
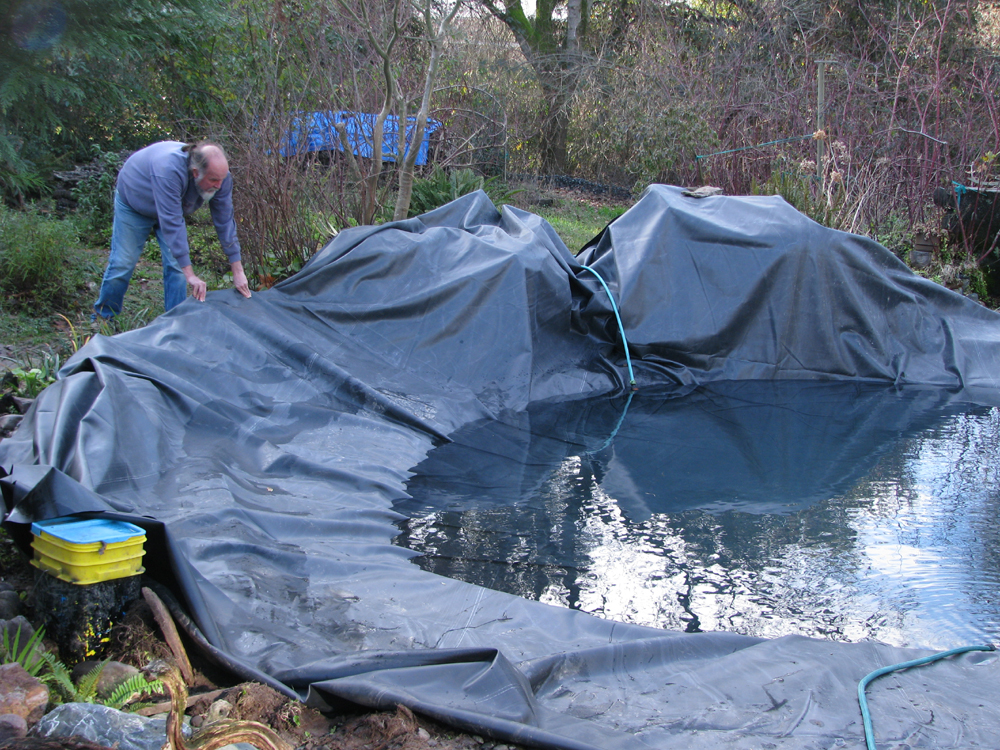
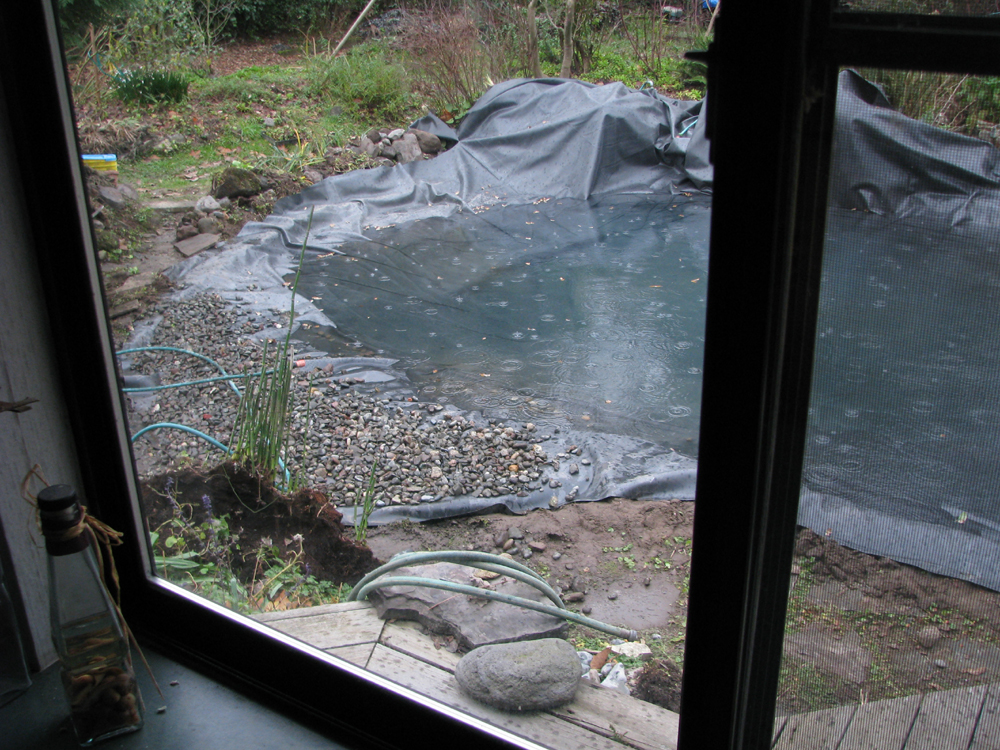
Now back to what was going on in January! After we emptied the pond in December, we were able to spread the new, 45mm pond liner, and begin refilling the pond on Jan. 7th. Note in the image that I've circled the horsetail plant that we saved as one big clump to reattach later. On the 8th, we continued filling, pulling the liner tight as necessary. We had to wait until almost noon to resume filling the pond as you want the liner warm and flexible. Dave and I went out every half hour and tugged on the liner to keep the # of wrinkles and folds down....nothing else to do that day....just watch!
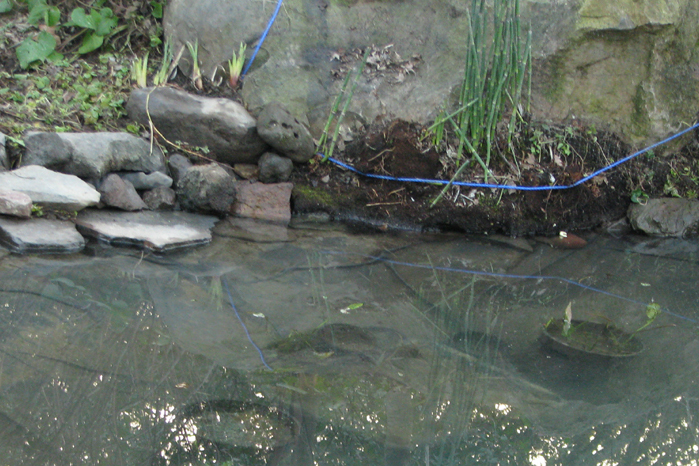
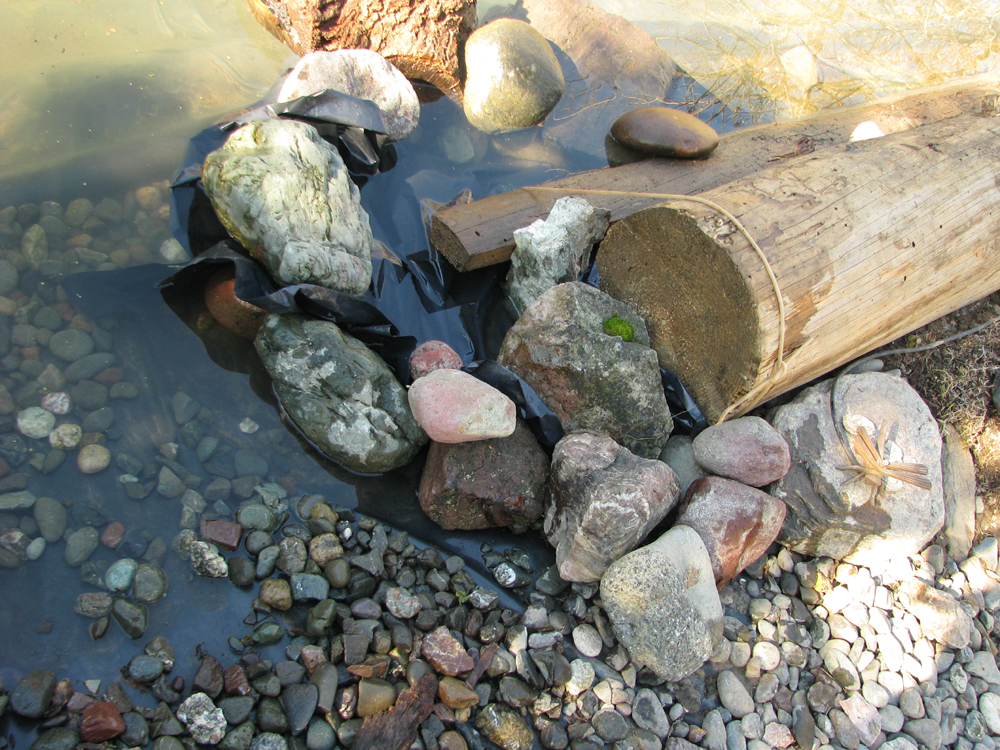
On the 9th, we were able to get the pond just to a few inches below full, and we put down the beach rock just before it started raining! But it was on the 10th that some of the most difficult part of the rebuilding occurred - we had to find a way to secure the water-tight seal up against the pre-existing boulders, which were too large to move. After pondering this (no pun intended!!) for ages, I'd decided that I would try to 'glue' the liner to the boulders using expanding foam insulation. I'm happy to report that this has worked wonderfully. I also used the expanding foam to reattach the horsetail. We also used rope to tie it in place - we were worried that little raccoon fingers might try prying it off. We left the rope in place for a whole month, just to be sure.
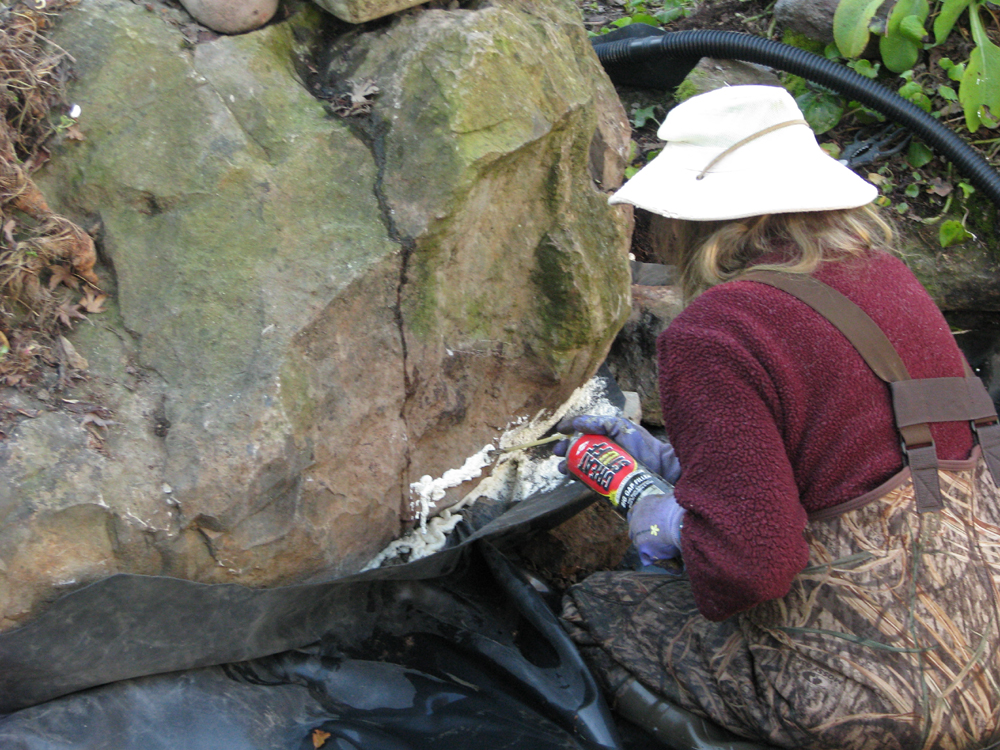
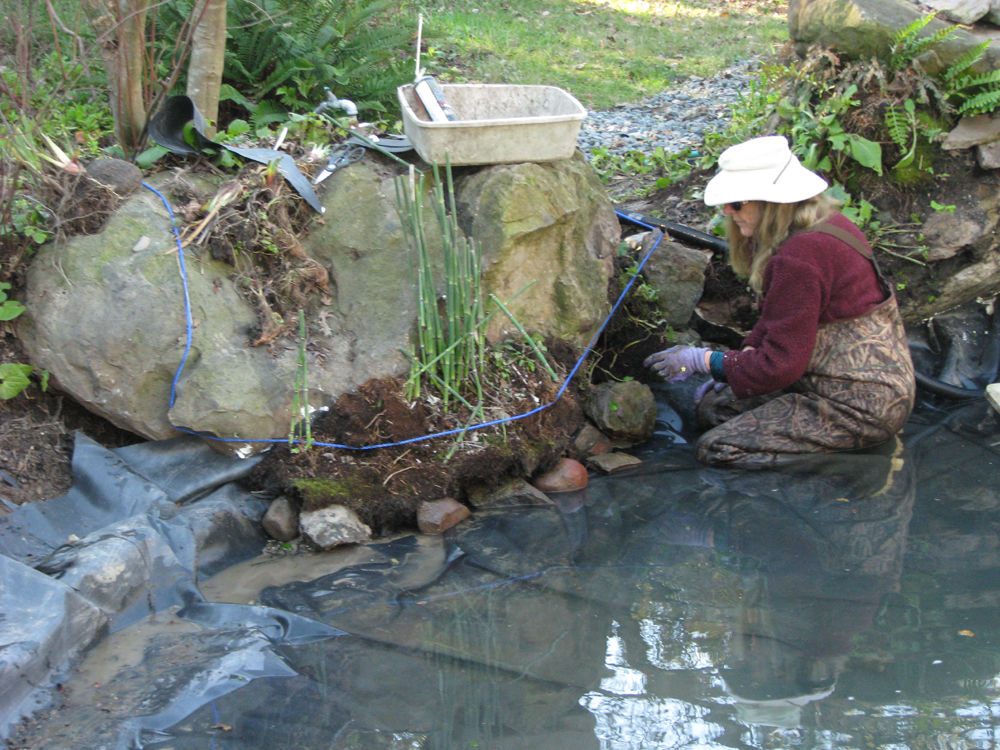
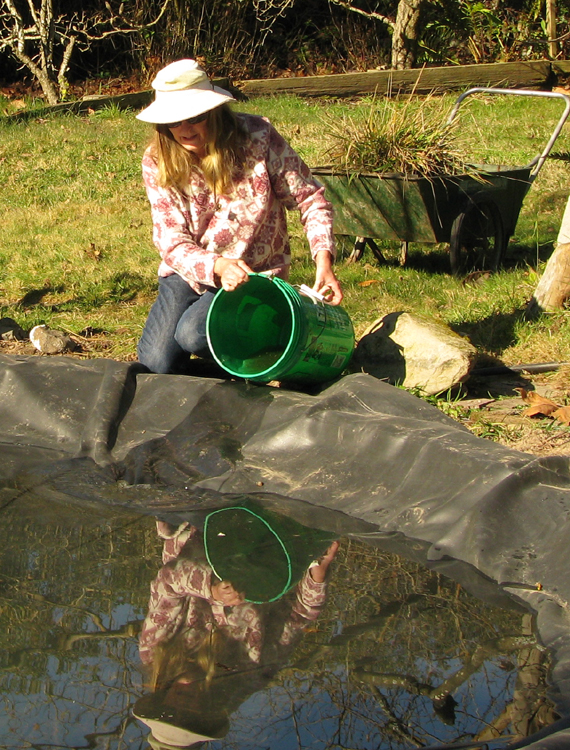
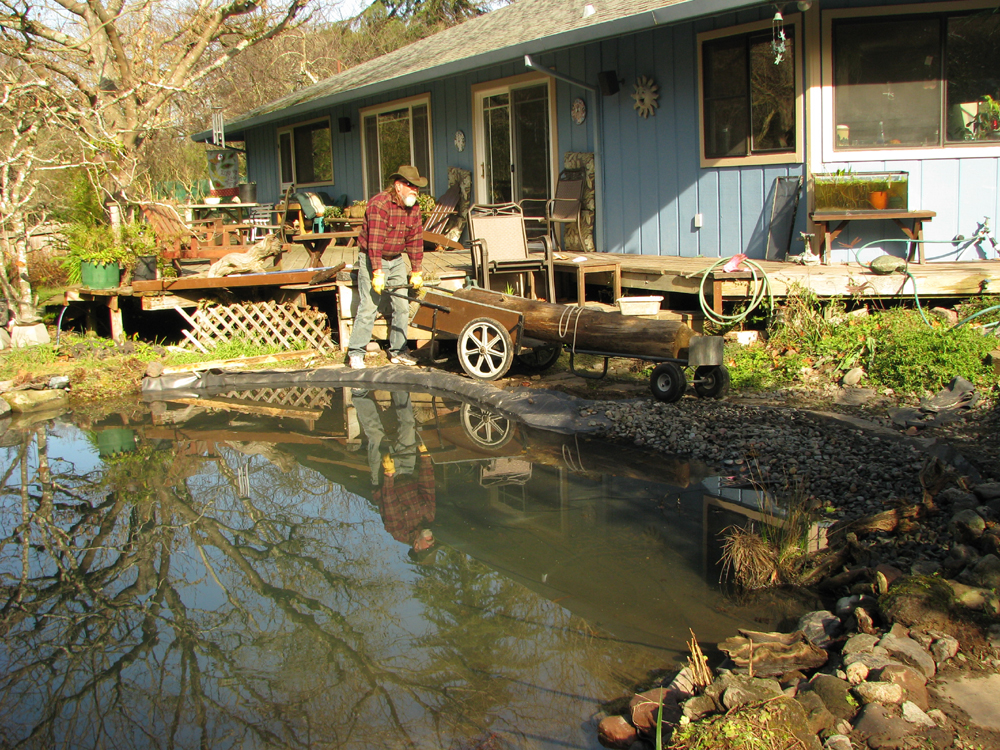
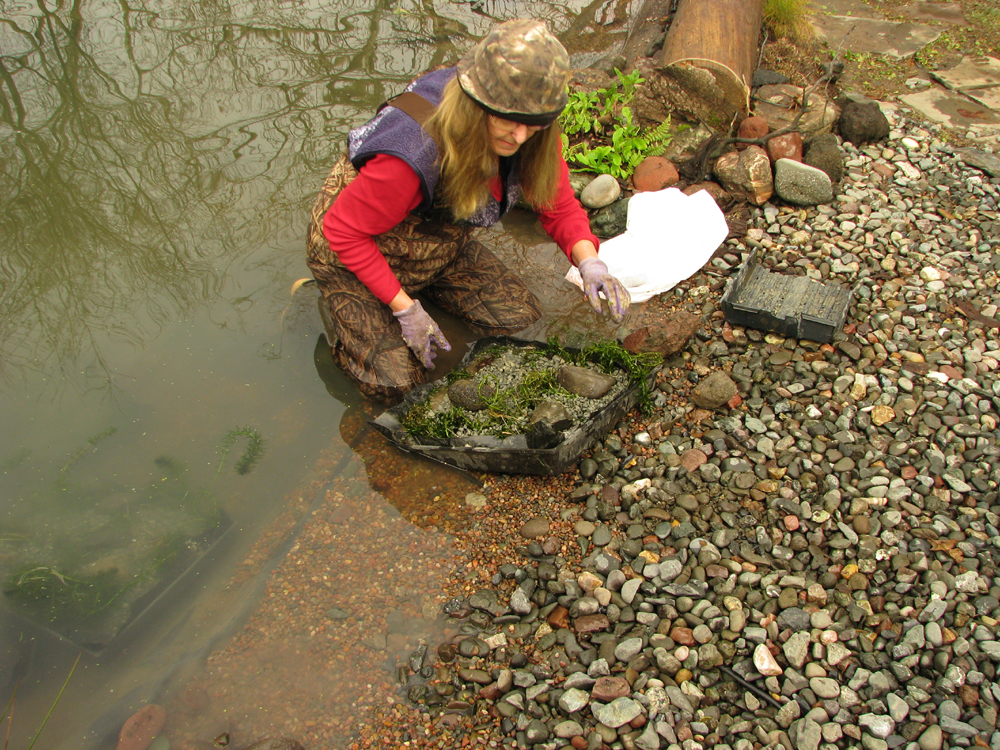
The whole thing was quite a hoot as in order to get to under the boulders, I had to wear 'fisherman's' chest waders (always a handy item for a pond owner) and use a ladder to get up to where I could reach under the boulders. By the 12th, we noticed the pond water was getting murky and I remembered then to inoculate the pond with water I'd saved from the former pond, before we emptied it. I'd saved it in a kiddie's plastic wading pond - that's where I stored some of the plants I'd taken out of the pond as we emptied it. In the image where I'm pouring water into the pond, you can see a cart full of sedges I saved to use in rebuilding the pond edging. And, yes, there are little raccoon paw prints already! Remember, raccoons are mother natures little helpers - all our native plants have evolved WITH them. No worries!!
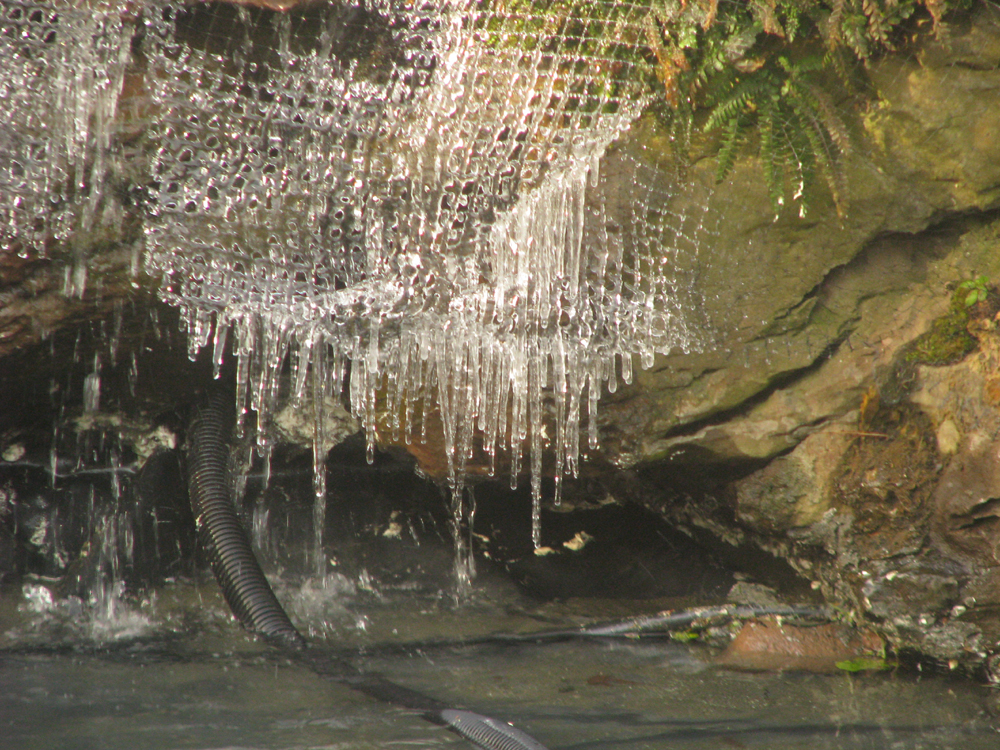
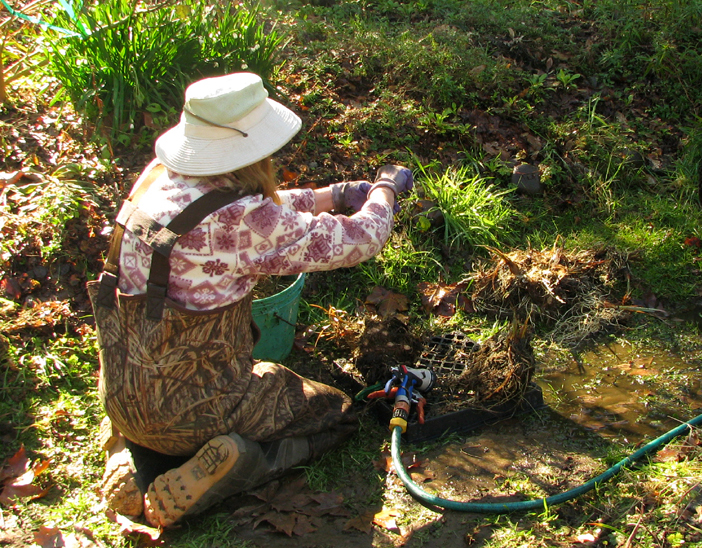
Next we reattached the hose to the waterfall pump....this time we were smarter, we put black flexible tubing over the clear, whitish colored tubing to disguise it. Yay, now the waterfall was working!! You may notice bird netting in that image. We used it to keep raccoons, opossums, skunks and other curious critters away while our pond settled in. It stayed up about a week. The next morning (the 13th) we were surprised to find that we'd had a rare (for our area) freeze! On the 14th we started putting the rock edging up - we are careful not to just have a ring of rocks around the pond though....that wouldn't look natural. We also started replanting the sunny bog, to the left of the pond. A bog is created by digging down 18" and extending the liner under it. Then you fill this area with half your native soil and half peat moss and plant moisture loving plants there. Whenever the pond is completely full, water overflows into the bog thereby keeping it moist. It is starting to really look like a pond now!!

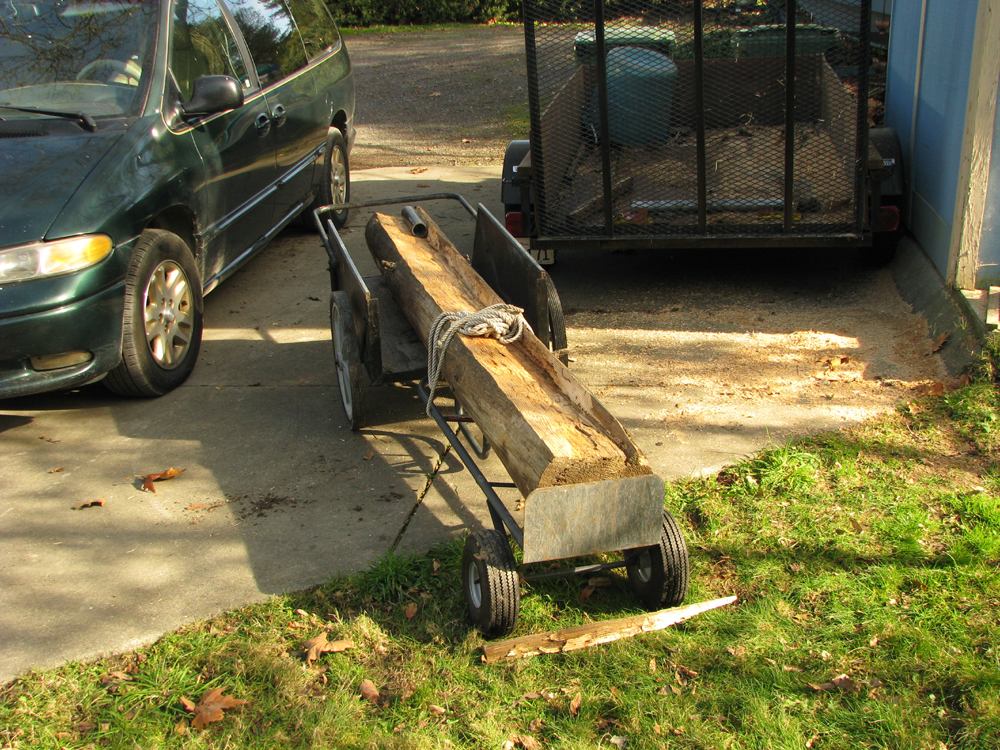
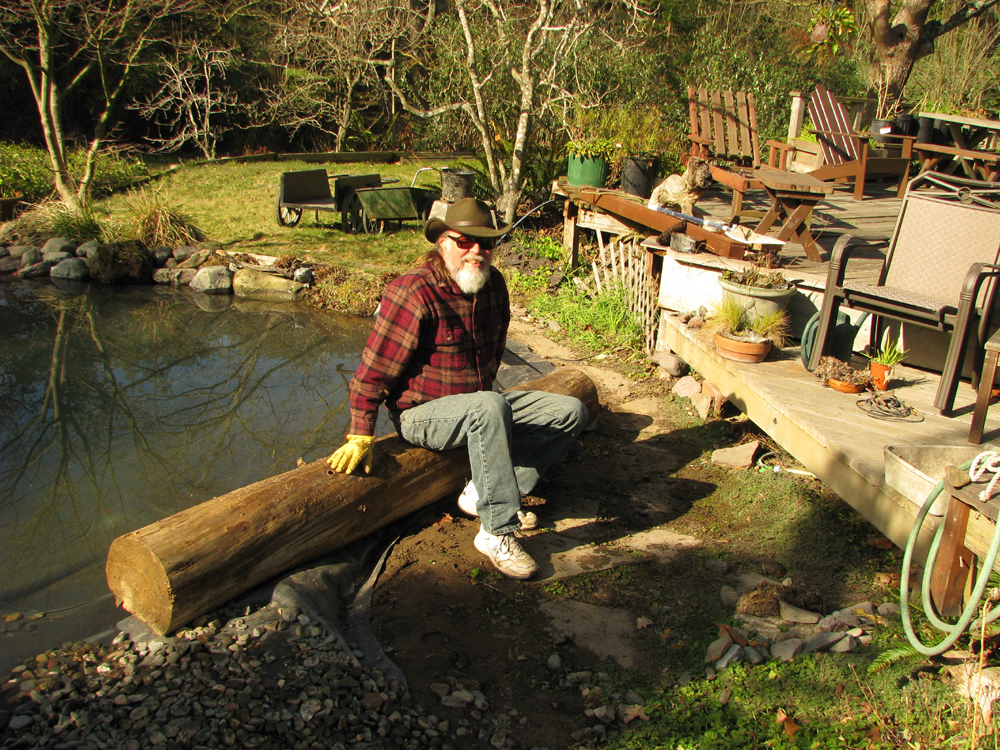
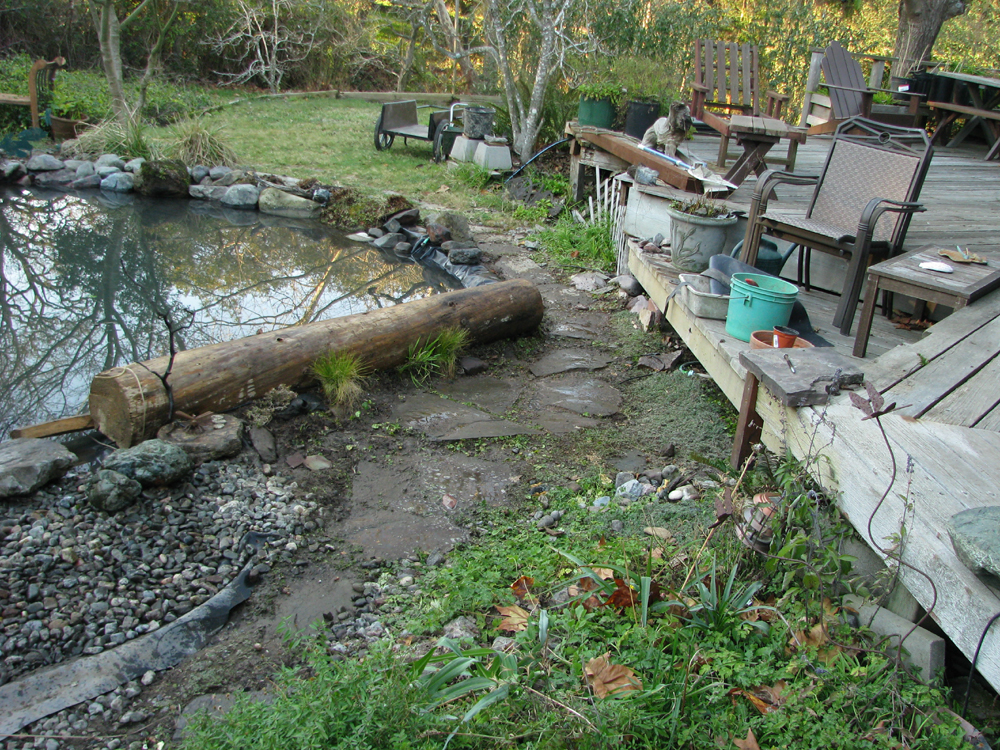
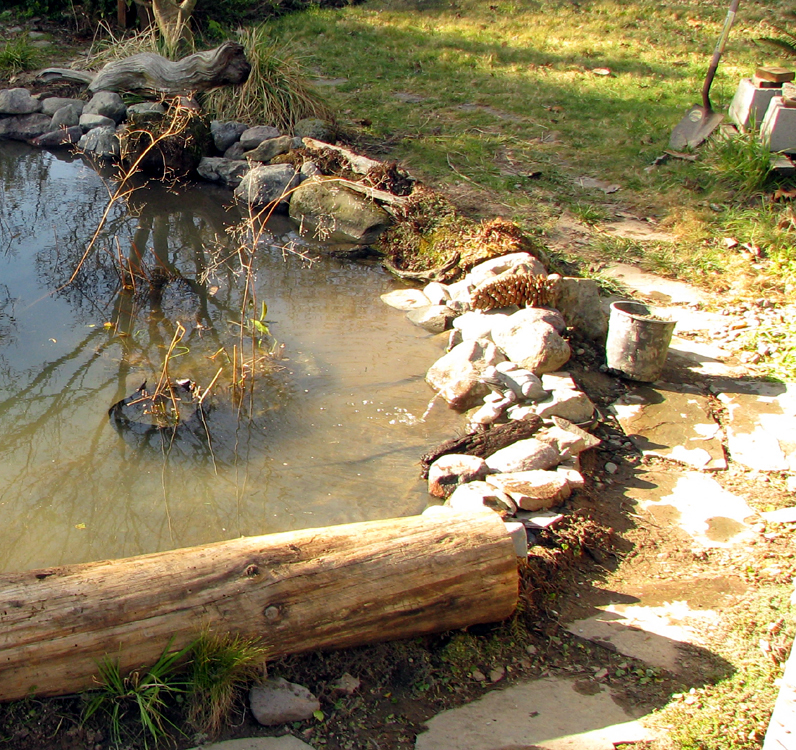
The next step in our pond rebuild was to put in a log as part of our edging. We'd brought the log home from our Siskiyou County home. One of the things I love about natural ponds and lakes is sitting on a log and dangling my feet in the water while I watch what's going on. I wanted to recreate this, but it meant putting Dave to work. He had to saw off a section from the bottom of the log, sort of "L" shaped, that would sit atop the real pond edging (cement bricks) which the liner extends over. Figuring out how to then move this heavy log to the pond was a problem, but you'll see that my man is a genius!

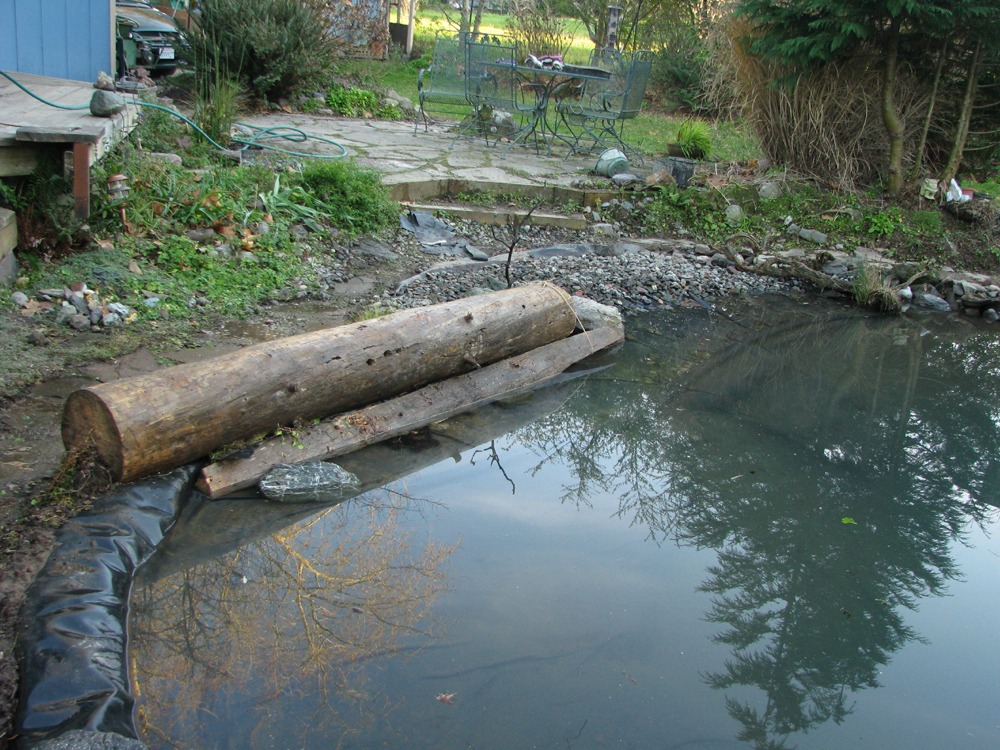
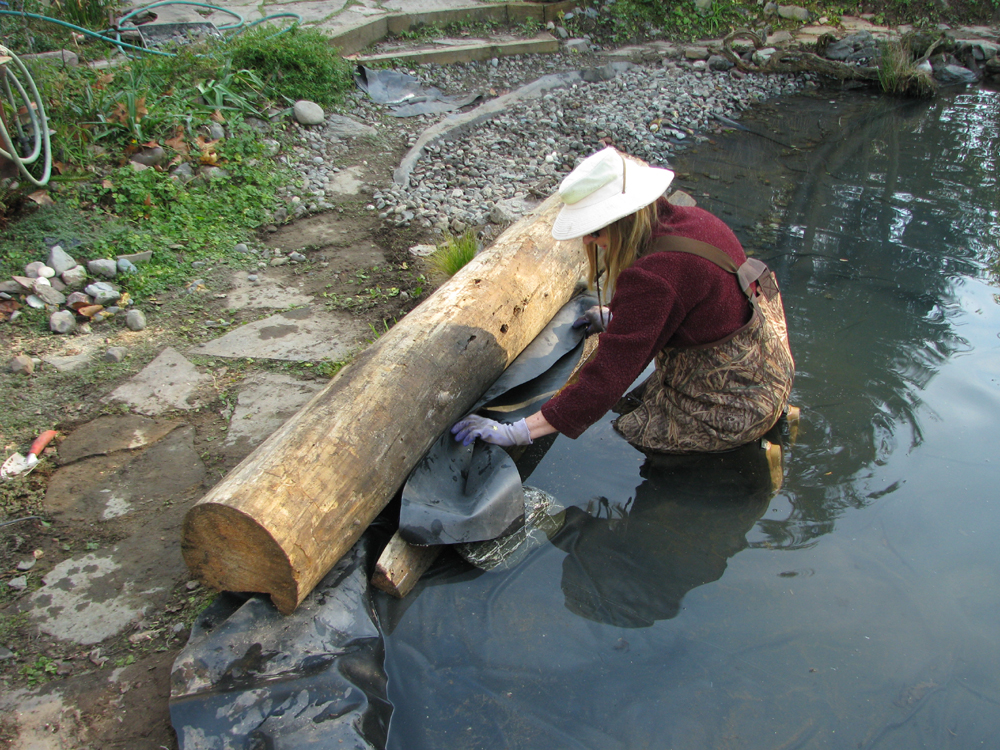
After the log was in place, I realized that there was quite a large space between the bottom of the log and the water level on the inside of the pond. Thinking it thru, I remembered how in nature often logs stack up on a beach. I decided to mimic that. And I didn't need a whole log, I could use the piece Dave had cut off to give that effect. I then put a folded piece of pond liner between the 2 'logs' and filled it with soil. Next I put some of the small plants I'd saved from our 'old' pond in this 'envelop', envisioning the effect to be as if this had occurred natually.
After that, we placed plants on the outside of the log and replaced the pavers on the walkway.

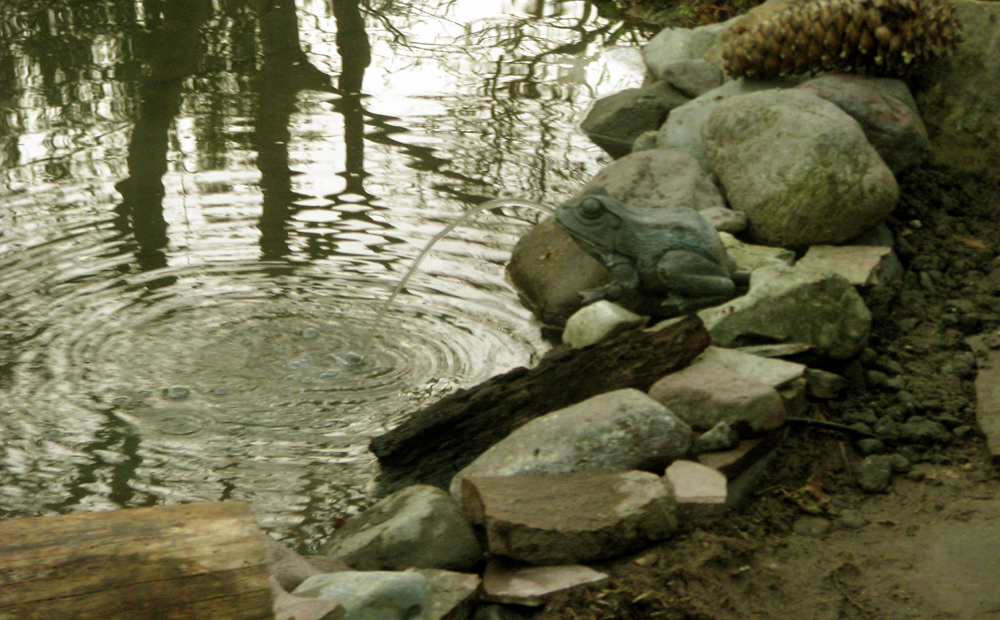
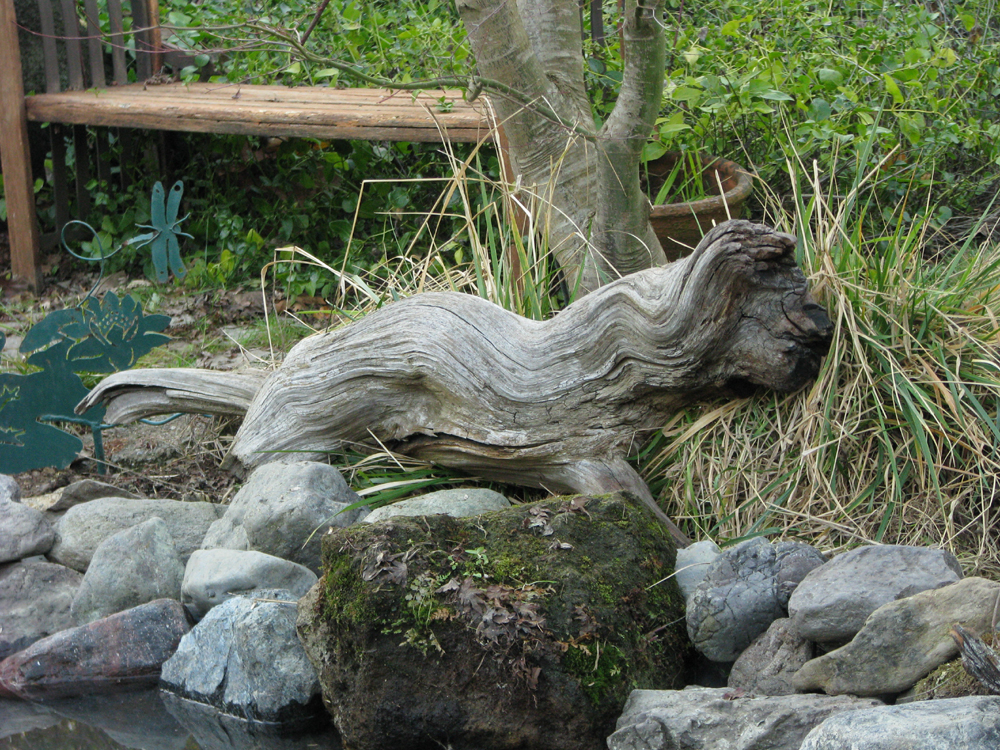
It was looking more natural already, and the birds started to reappear. Now it was time to start adding back in some of our favorite little 'extra' features, such as the frog spitter (his electrical cord just goes under a paver), and our beachwood 'pouncing cat'. The frog spitter, besides being cute and the cat's favorite drinking fountain, makes ripples on the water....this discourages mosquitoes! :-) By the end of the 16th, a week into the remake, the edging was nearly complete.
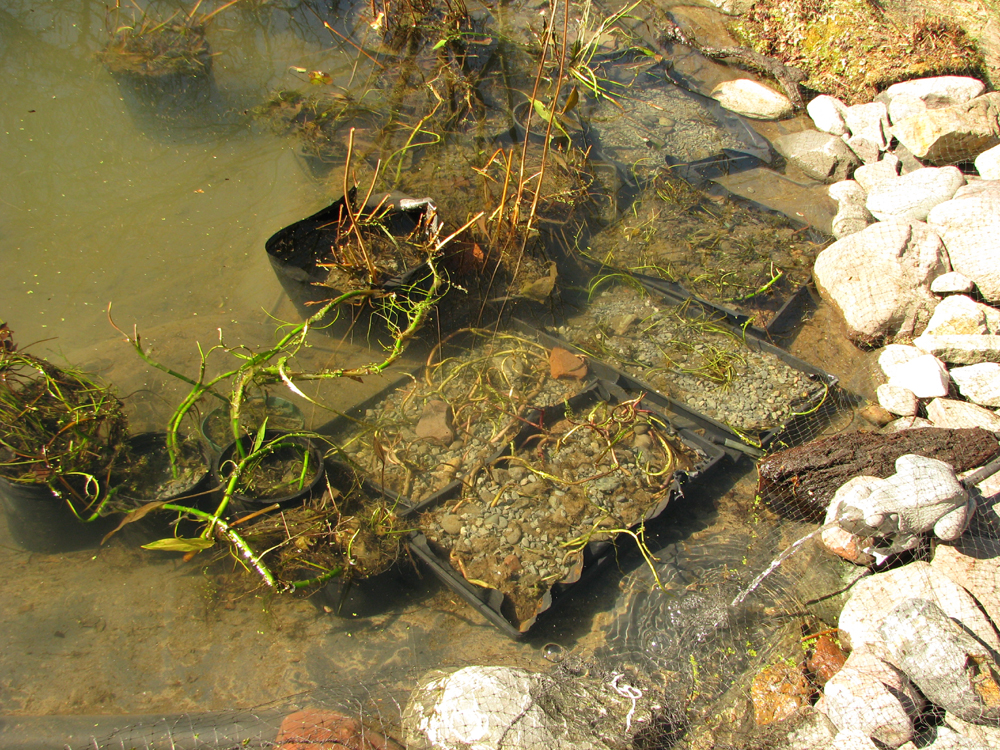
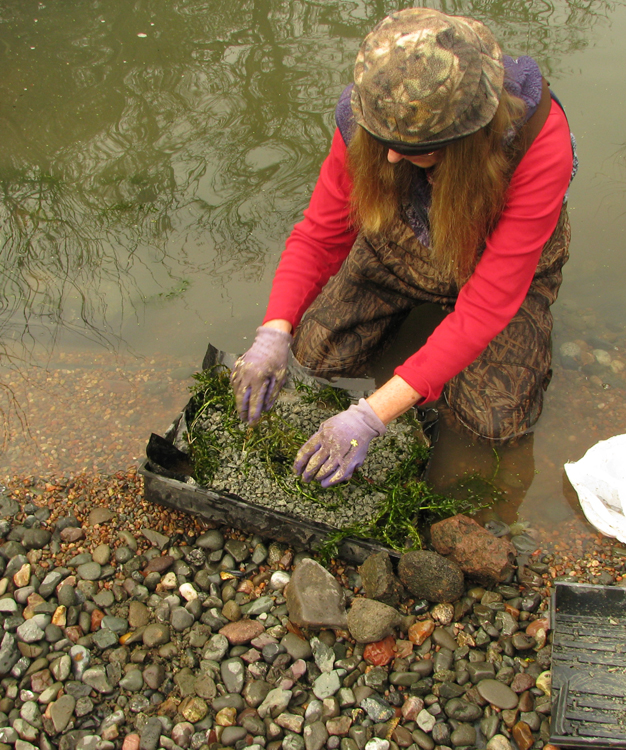
With the pond filled, and the edging completed, it was time for replanting. I had saved as many plants as I could in several small holding tanks (1 kiddies wading pond plus 2 vinyl lined troughs and a bunch of little pots, etc.). The technique I used to replant these was to use plastic planting trays - the kind you find in nurseries for holding a contingent of small potted plants. I lined these with bits of left-over liner, filled them with CLAY soil (never use pottting soil, it floats!). I also used black plastic pots, sometimes cutting them down so as not to be so tall. These were gently placed in the pond. As the plants grew, I knew they would obsure the pots and trays.
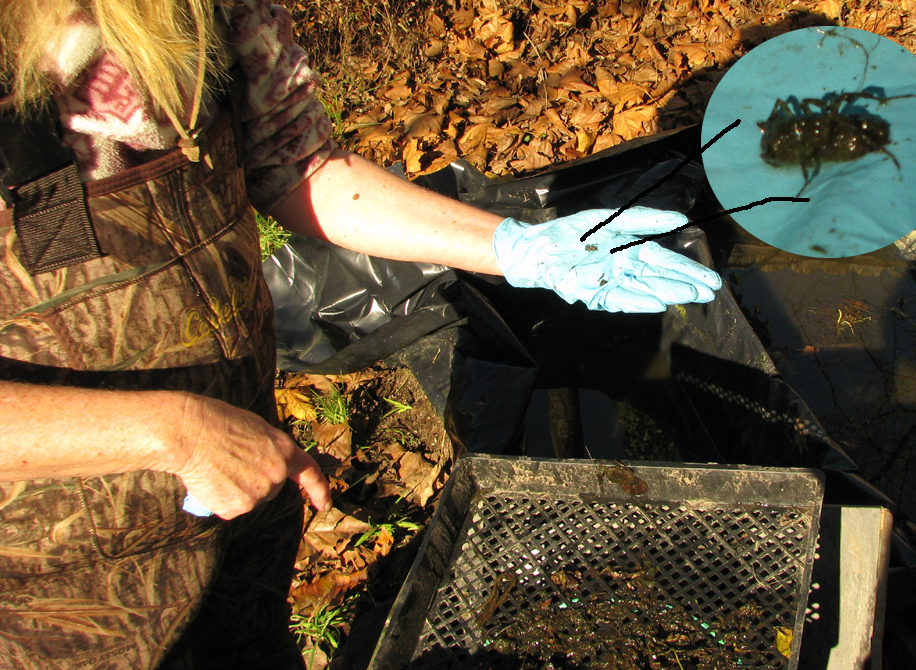
It was gratifying to find many dragonfly and damselfly nymph in among the plant material. I had purposefully hunted and saved as many nymph as I could when we were draining the pond. By the evening of the 18th, it looked like a pond again.

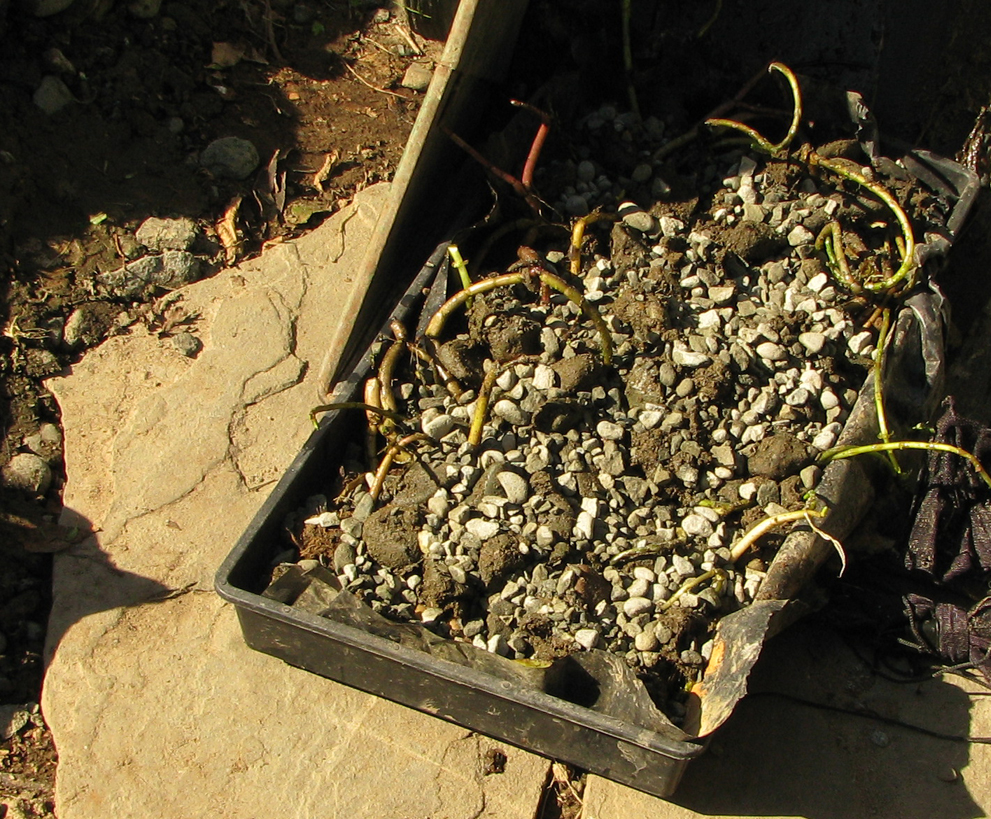
On the 19th, I was busy "potting the marestail that I'd had overwintered in the kiddies pond. It certainly didn't look like much at that point, but I wasn't concerned as I knew it is a plant that dies back to the root each year. Here's a link to an image of what Marestail looks like during its summer growth. After putting the plant matter over the soil in the planting tray, I then covered the tray with a bit of pea gravel and a few rocks to hold everything down. This also prevents much of the 'muddying' of the water that would occurr if you didn't cover the soil with pea gravel. At last, I carefully and slowly placed tray after tray of emergent and underwater plants in the pond. The last step was to put a single layer of bird netting around the shallow edges of the pond. I wanted to prevent little raccoon paws from undoing my planting. After the plants have rooted, then the netting comes down, afterall, this pond is FOR the wildlife! By the way, don't double over the bird netting - it could then trap and kill birds, frogs, lizards, etc.


The next project was to further 'naturalize' the log edging and pond which was accomplished by creating a 'plant pocket'. To do this, you place a ring of rocks next to your pond border, put pond liner in it (use one of the excess cut-off corners) and then fill it with clay soil. After adding the soil, use more rocks to hide any edges of the liner still showing. Then place plants that love to have their roots damp there. We used ferns and other plants we had on hand, but eventually added Cardinal Monkeyflower. Click here to see this area just 7 months later.
On the 24th we were ready for the last stage of the pond rebuilding. It was time to put in the underwater plants, the Elodea (aka Goldfish plant). This plant, or another species of underwater plant, is essential for keeping the pond algae-free. It absorbs nutriants through its leaves, thus starving the algae and giving the pond beautiful, clear water. I used the same technique as with the emergent plants, I used planting trays (mesh), lined the trays with left-over liner, lightly filled them with heavy clay soil (aka 'hard pan'), put in the Elodea, topped this with pea gravel and a few heavy rocks and placed it initially in the pond.


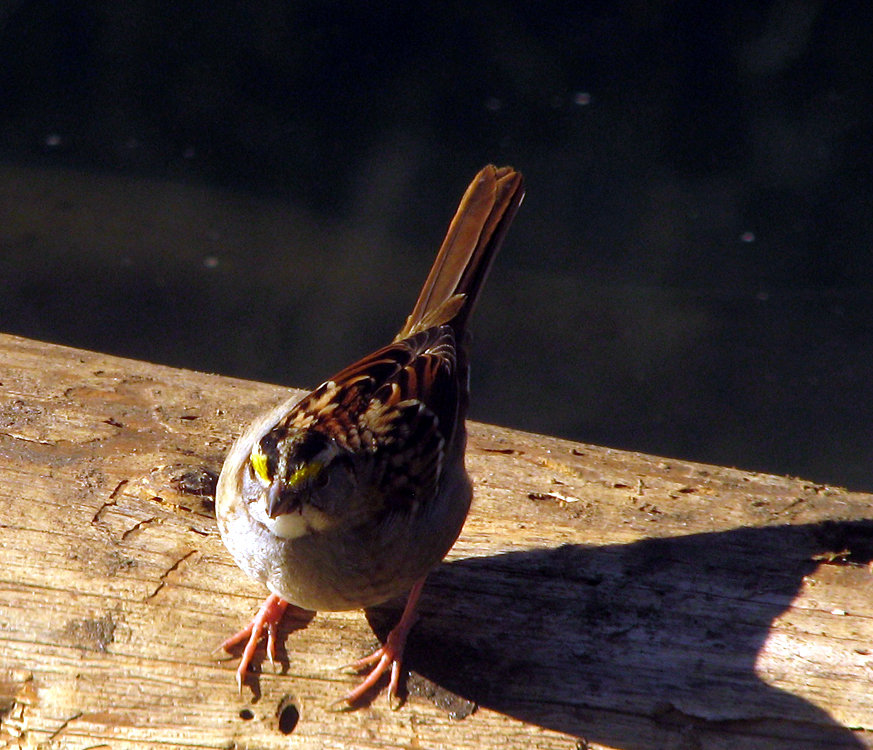
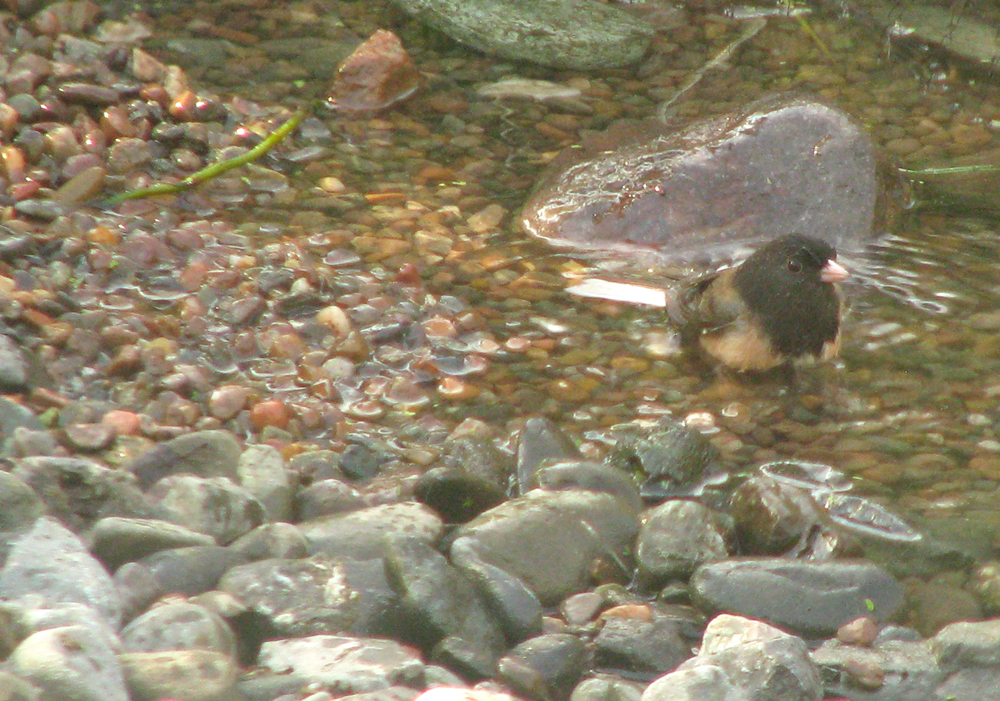
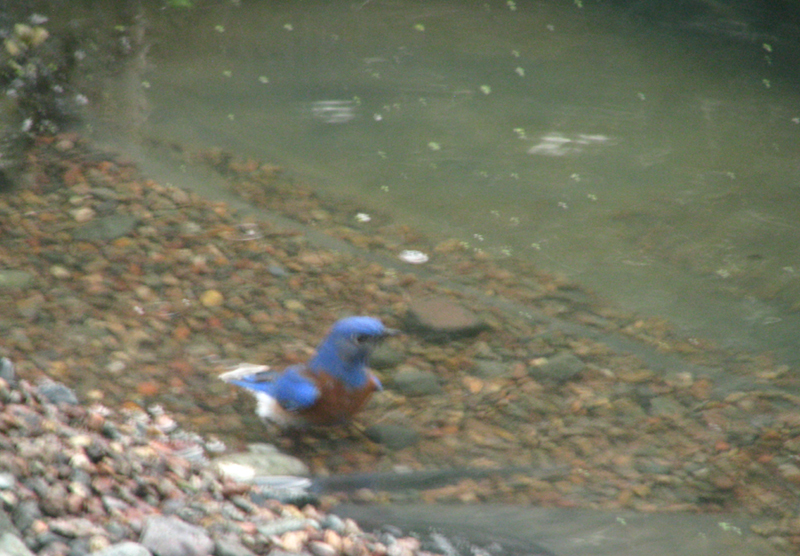
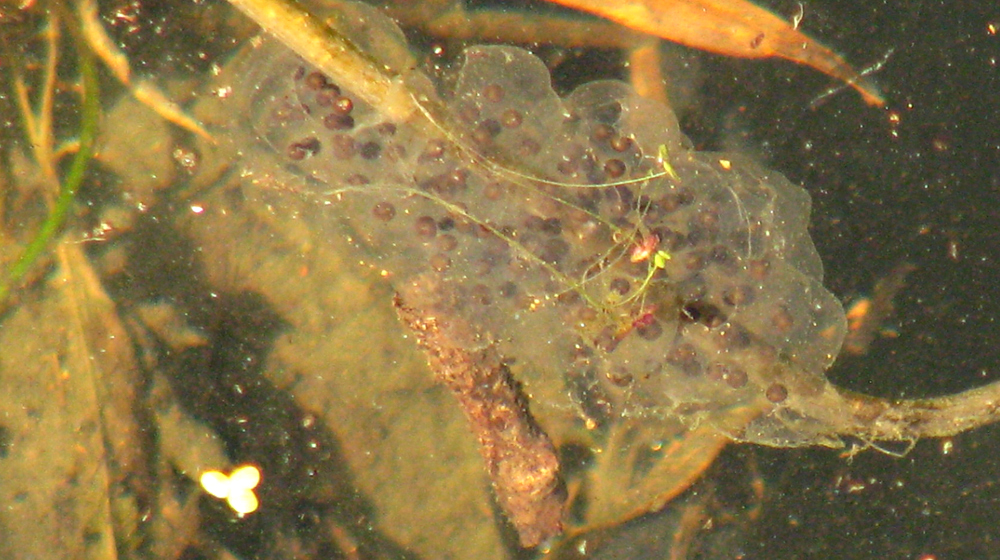
We were delighted when, at this early stage, we started having 'visitors' drop in. We felt it was a reward when one of our first visitors was one of our rarer yard birds, the White-throated Sparrow. Others birds included the Dark-eyed Junco and Western Bluebird. And a critter showed up that we'd never found at the 'old' pond, a Slender Salamander, and not to be outdone, the Chorus Frogs started singing and laying eggs.

It had taken most of the month, Jan. 7th - Jan. 24th to rebuild the pond, but now we were finished. Yay!!
END OF REBUILT